Sunday, June 3, 2012

Sugar and Spice: Phase 1 of the nursery

Yes, we are expecting...and we are expecting a girl! The Hubs painted the nursery this weekend and now it's ready for my decorating touch. :)


I found paint colors that I liked and it didn't take long for our vision to come together. The pink paint samples are just to show what the wall colors will look like with pink accessories.

Here are some before pictures: 


Here are some pictures of the during:

Three of the walls are painted in a pale aqua (Behr's Aqua Pura: 500C-2). The fourth wall, the one with the window, is painted in cream (Behr's Canyon Cloud: W-D-410) and stripes in a darker aqua (Behr's Aqua Glow: 5007-9B). 


After:


To Do:
  • bookshelves
  • varying pink tissue/tulle pom poms hanging from the ceiling
  • gallery wall with lots of pink accents 
  • blackout drapes
  • pink tiebaks of some sort for the drapes
  • enlarged black and white photos of the baby
  • crib
  • dresser
  • changing pad
  • glider and possible ottoman (for the mama)
And I am sure I am missing something else but I am just so stinkin' excited that I can't think like a normal person at the moment. Hope you all had a terrific weekend!

Monday, May 28, 2012

WIP (work in progress): Bathroom shelves


Hi ya'll! It has been AGES since I have had any time to do anything remotely house-y or crafty. I was jonesing real bad. Anyway I decided today that I would start decorating the bathroom shelves. They aren't finished, hence the post title, but I have started and that is a step in the right direction, right?


The Hubs built shelves last Christmas for our master bath and I absolutely love them. They sat empty for about three months and then the last two months there were two candles, a jar of cotton balls and a rolled up hand towel. It was pitiful looking! So I went to a couple thrift stores and picked up some vessels to fill the space. I found lots of interesting blue jars and also the clear one below containing rope and a silver lid.


The large blue jar is super neat; it holds a candle on a cast iron holder perfectly nestled inside the jar. Perfect! I also found this great wire basket for real cheap at Roost (downtown Spokane). It will be perfect for holding towels, wash rags and hand towels. 


Then I hit up a local Goodwill and grabbed a few clear containers as well. Three were only .99 cents and the large round one was $1.99. Can't beat that people! I ended up not using the two similar jars but I know that they will be utilized somewhere else so I am not sweating it. 


This interesting jar below was a Goodwill find two years ago, but it was used in a chemistry project at school. We coated glass jars with a silver type compound. I am not sure of the precise name, and I don't feel like digging through my school work to uncover it so we are calling it "silver type compound". I love it, and think it's so interesting and it kind of looks like mercury. Besides it is pretty cool that I "made" it...well you know, sort of.  


The Hubs and I collect shells, sand, and general beach items every.single.time we go to any beach location. We have tons! I put some of the collection to use today for the decor. I placed sand (from an unspecified foreign beach-I'm not sure if we are allowed to "take" items), a starfish and random shells in the large, round vessel and then stuffed in a tealight as well. 


In the tall, skinny jar I put in a pebbly beach (from an unspecified domestic beach) and then tossed in small shells. 


It still needs something so I may end up wrapping some raffia or jute around the neck of the bottle. We'll see. The large conch shell is from a trip The Hubs took a few years ago. 


Putting items in a cluster or vignette style is something I have a tendency to do, so I placed items into groups in the corners of the shelves. 


The shelves are still quite empty looking but I have some big plans to add to it. Imagine black and white photos, in frames, of The Hubs and I enjoying various beaches on the top shelf. Also I am thinking I need more texture so a skinny seagrass basket that can hold various decorative soaps. The wire basket on the bottom shelf will house the towels; I just need to find the right color scheme. Also imagine the walls blue instead of green. I think it will definitely make everything pop. I believe the bottom shelf needs varying height as well so I may stack some old books under the large, round vessel. 


It is still a work in progress, and it may take me another six months before it is complete (lord I hope not), but I am content at the moment knowing that I have at least made a few baby steps. Hope you all had a wonderful weekend!

Wednesday, November 23, 2011

Happy Thanksgiving!


Gratitude turns what we have into enough. May your hearts overflow with joy and gratitude this holiday. And give thanks for all of your blessings. Happy Thanksgiving to you and your family!

Friday, October 7, 2011

Goodwill Transformation

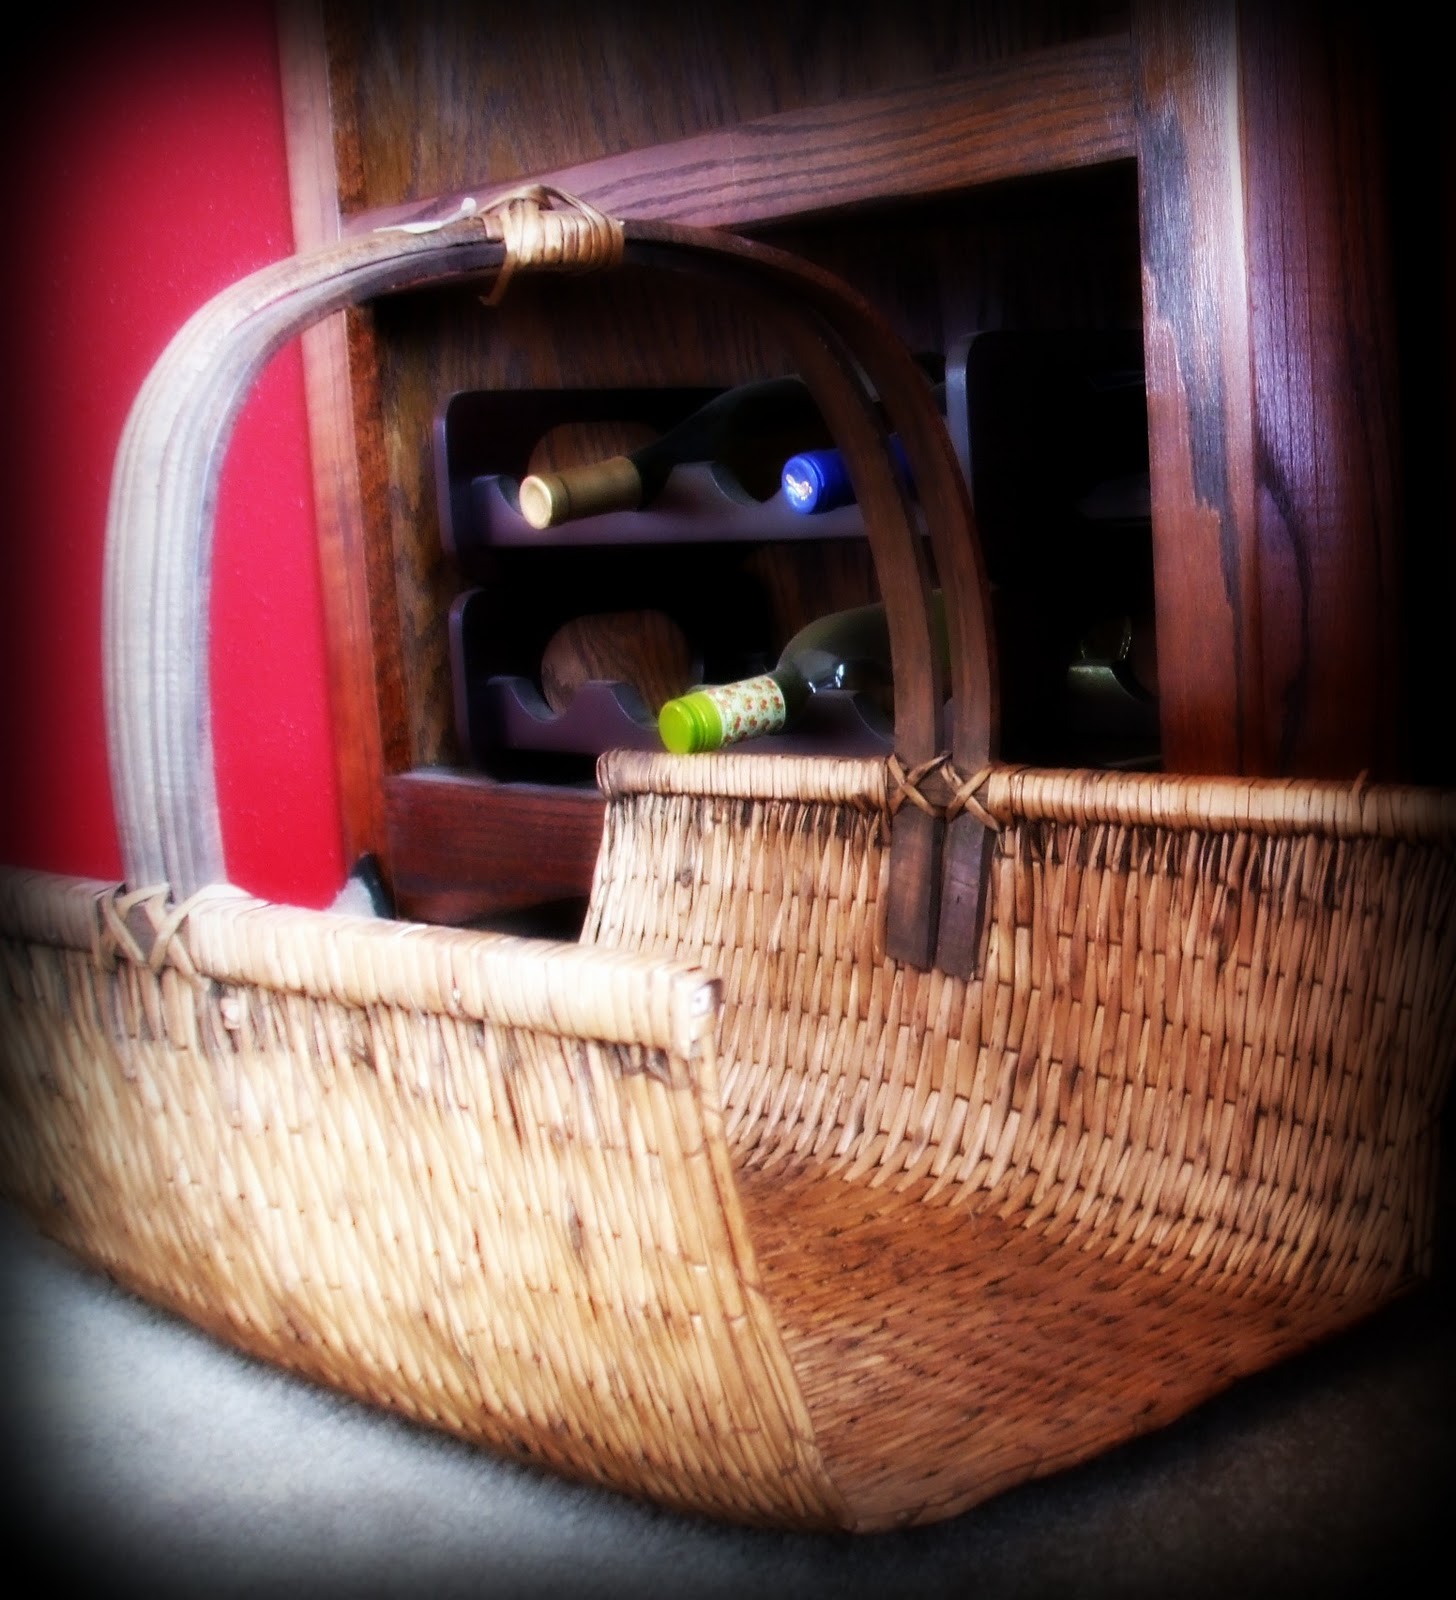
I love spray paint! I mean, really love spray paint. It is such an easy application to make a ho-hum item come alive. I found this basket at Goodwill; it's large and in charge. I'm not sure what its past life was, maybe holding gladiolas, or maybe fire wood but since the weather finally took a turn toward the cooler side I knew it would make a nice addition for holding throw blankets.


Great bones but not digging the color. Don't get me wrong I love brown (its my go-to neutral when decorating) but I think The Hubs is right when he says we have too much. We needed to lighten up!

I grabbed my trusty can of Heirloom White and headed outside last Saturday to paint.


This is after two coats. I didn't use primer because I didn't care if it was well covered; I was going for the shabby chic look. I think it's terrific that some of the wood color is showing through. Although if you do not like this look I do highly recommend using a primer; you can even buy it in a spray can as well. The same concept applies when you are painting the walls of your house-for better color and coverage you must prime first. : ) The one thing to remember about spray paint is that slow and steady ALWAYS wins the race. You want to make short, even/steady passes with the can so not to get any drips. Trust me, I am not a patient person and it ultimately bites me in the bootie every.single.time. I took my time on this however, I mean, what else was I going to do while The Hubs was at work ON A SATURDAY!! Gotta love football season!


Anyway it is like a brand new piece and I am thrilled.  


Have a great weekend!

Thursday, October 6, 2011

Bake Potato Soup (Loaded!)

Well the Fall-like weather has finally been ushered in, and I don't know about you but when it is drizzly outside, I like to warm up with a big bowl of soup. Of course, like most of us, I still want to keep my waistline in check, and this soup does that without sacrificing flavor.


Ingredients:

3.5 C of fat-free chicken broth
        (notice how I am not using cream of chicken/potato soup; this alone saves quite a few calories and fat)
2 large potatoes
1/4 C of all-purpose flour
1.5 C of fat-fee milk
1/4 of a small onion, chopped
3-4 garlic cloves, minced
2 tsp olive oil
1/2 tsp of black pepper
1/4 tsp of salt
1/4 tsp of crushed red pepper flakes

Toppings:

1 tsp of fat-free cheese
1 tsp fat-free sour cream
1 tsp chopped scallions
1 tsp of real bacon bits

First put your potatoes,peeled, in the microwave for about 8 minutes. While those are cooking, add your oil, onion, and garlic to a large sauce pan and cook over medium heat for about 3 minutes, or until the onions are tender. Then add the broth and milk, and stir. Crank the heat up to medium high and whisk in your flour, slowly. Mash one of the cooked potatoes and then chop the other one. By now your mix is starting to get thick; add in your mashed potatoes and stir. Then add in your chopped potato and stir. This yeilds six, 1 cup servings.

Add your toppings to your bowl of soup and pair it with a nice, soft roll or slice of baguette. Bon appetite!

Wednesday, September 21, 2011

Coasting through life


Good day ya'll! I made coasters today with left over white tile, scrapbook paper and Mod Podge. It's easy and they make terrific gifts, which is exactly what I intend to do with these.

First gather your supplies; they do require a bit more than the three items I mentioned above.

Supplies:

4X4 tile (only 16 cents ea at Home Depot)
scrapbook paper
Mod Podge
a paint brush or foam brush works as well
either felt backs or bumpers (like I have); you can find these in the home section of your hardware store or even Fred Meyers, which is where I located mine.
sand paper, I used 150 grit
and Crystal Clear


Then cut your scrapbook paper to the size of the tile with a little bit of overhang. Sweep on your Mod Podge to the top of the tile and lay the paper on top. Smooth out the wrinkles but be careful not to move the paper too much or it will no longer cover your tile surface. Let these dry completely and then you will sweep Mod Podge on top of the paper as well.

Let these dry for a couple hours. Once they are dry then you will sand the edges a bit, not too hard because you don't want to run the risk of ripping your paper. I layed my tile on its side, gripped it in my left hand and went over the edge with the sandpaper, as if I were bending the paper down the side of the tile. Repeat on all four sides. Be sure to dust your tiles off when you are done before moving on to the next step.

Then in a very well ventilated area, lay down your tarp or newspaper (being sure that you take into account over spray). Then in a sweeping motion, starting off of the tile and then "sweeping" across cover your coasters with the Crystal Clear. This product creates a glossy effect and it will not yellow your paper, oh and the best part it is water resistant so it is perfect for coasters.

This will dry in about 10-15 minutes but you do not want to handle for about 2 hours, at least that is what my directions said on the can. Read your product and see what it says and then follow their guidelines.

Here is the really fun part. Place the felt back on the bottom of the tile so it doesn't scuff your furnitue and now that they are dry, completely, you can stack them and tie a pretty ribbon around them. I love them! I think the recepients will be very pleased.